Baseball is a popular sport loved by many people around the world. Whether you’re a fan of the game or just like the look of the ball, learning how to draw a baseball is a fun and simple activity. Whether you are a beginner, a young artist, or just someone looking to improve your drawing skills, this guide will help you draw a baseball step by step.
In this blog post, we will show you exactly how to draw a baseball in a way that is easy to follow. We’ll cover everything from basic shapes to adding details to make your baseball look realistic. By the end of this guide, you’ll know how to draw a baseball with ease and confidence.
How to Draw a Baseball: The Basics
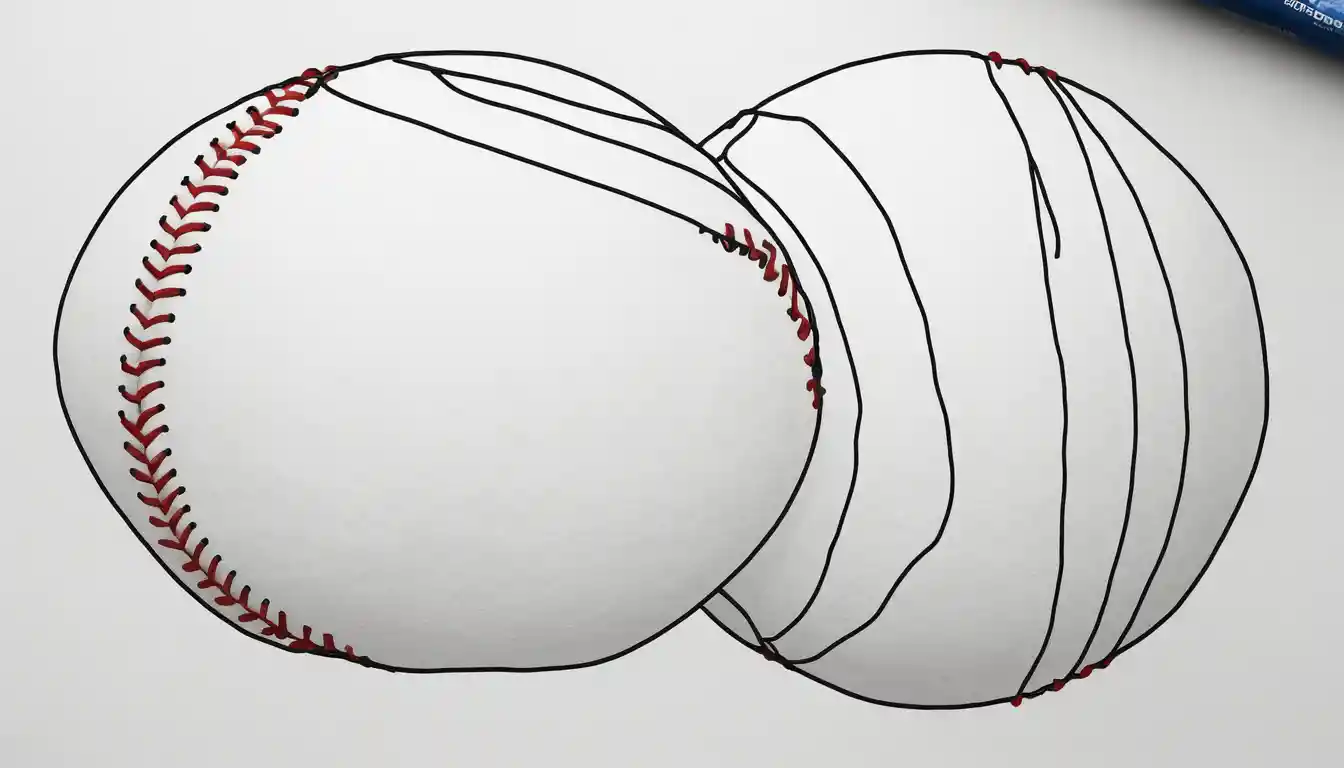
Before we dive into the details, let’s start by understanding the basic shape of a baseball. A baseball is a sphere, so we’ll begin by drawing a circle. To do this, you can use a compass or any round object like a cup or lid to trace the shape.
Draw a Circle
Start by drawing a simple circle. It doesn’t have to be perfect; just make sure it’s round enough to look like a baseball.
Add the Stitching
Next, we need to draw the stitching that is commonly found on baseballs. Baseballs have two red lines of stitches that curve around the ball. These lines start at the top of the baseball and curve down toward the bottom. To draw the stitches, make two curved lines that follow the shape of the circle.
How to Draw a Baseball for Kids
If you are teaching children how to draw a baseball, keep it simple! Kids love drawing things they can easily understand, so here’s a simple way to teach them:
Draw a Large Circle
Let the kids draw a big circle using a pencil or marker. If they find it difficult, help them by using an object to trace.
Draw the Stitches
Draw two curved lines that start from the top and curve toward the bottom of the baseball. Show kids how to make the stitches look like simple curved lines or even small “U” shapes.
Add Small Details
Encourage the kids to add small dots or lines on either side of the curved stitches. This will make the stitching look more realistic. They can also add some shading around the baseball to give it a more 3D look.
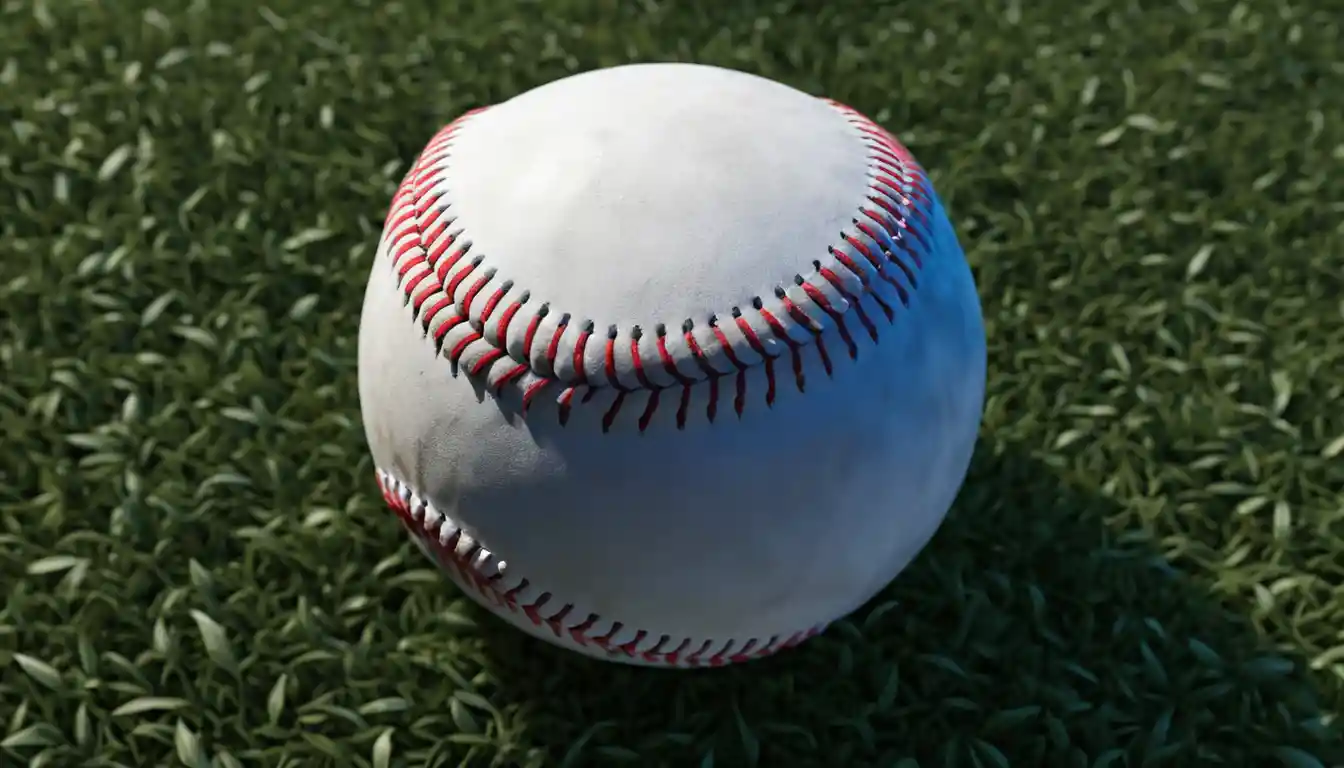
How to Draw a Baseball Realistic
For those of you looking to draw a more realistic baseball, here are some tips:
Refine the Shape
Start by refining your circle to make sure it’s smooth and even. A realistic baseball should look like a perfect sphere, so focus on making your circle as clean as possible.
Draw the Stitching in Detail
A realistic baseball has detailed stitching, so instead of just two curved lines, add a series of small, evenly spaced lines that make up the stitching. These lines should curve slightly as they follow the round shape of the baseball.
Add Texture and Shading
To make your baseball look even more realistic, add some shading. Baseballs are often worn out, so make sure to add some light and dark areas to create texture. Shading along the edges of the stitching will also help make it look more 3-dimensional.
Finish with Highlights
Realistic drawings often include small highlights. You can add a tiny white spot near the top or side of your baseball to represent the light reflecting off it. This will give the baseball a shiny look.
How to Draw a Baseball Bat
To complement your baseball, why not learn how to draw a baseball bat too? Drawing a bat is simple and can add a great touch to your baseball artwork. Here’s how to do it:

Draw the Shape of the Bat
Start by drawing a long, slightly tapered rectangle. The top of the bat should be wider, while the bottom should narrow.
Add Details
Add small details like the knob at the bottom of the bat and the grip near the handle. You can also add some texture to the bat by drawing small lines along the barrel to represent wood grain.
Shade the Bat
Add shading to the bat to make it look more realistic. Focus on the areas that would naturally be darker, such as the underside of the bat.
How to Draw a Baseball Player
Baseball is all about action! If you want to draw a baseball player along with your ball, here’s a simple guide:
Start with the Outline of the Player
Begin by drawing a basic outline of a baseball player in a simple pose. Use straight lines to outline the body, arms, and legs.
Add the Head and Hat
Draw a small circle for the head and add a baseball cap on top. The cap can be simple, just a small curve with a brim.
Add the Bat and Glove
Draw the player holding a bat in one hand. For the glove, make it look like a slightly open oval shape with small details like the stitching.
Details and Shading
Once you have the basic figure, add details like the uniform, the team logo, and any small accessories. Shade the areas where the light wouldn’t reach, like under the arms or behind the player.
How to Draw a Baseball Glove
A baseball glove is another fun object to draw. Here’s a simple way to do it:
Draw the Shape of the Glove
Start by drawing an oval shape for the glove’s palm. Then, add the fingers as small curved lines extending from the palm.
Draw the Stitching
Add stitching around the edges of the glove to make it look more realistic. Draw some lines along the palm to represent the glove’s padding.
Details and Shading
Finally, add some shading and small details to give the glove texture. This will help it look more lifelike.
How to Draw a Baseball Player Hitting the Ball
This is a more advanced drawing, but don’t worry! With a little patience, you can do it. Here’s how:
Draw the Basic Pose
Start by drawing the player in a batting stance. Focus on the body’s position and make sure the bat is in line with the player’s hands.
Add the Bat and Ball
Next, draw the bat in the player’s hands and the ball just as it’s about to be hit. The ball can be drawn in a simple circular shape, but try to show some motion by drawing lines around it.
Add the Background and Details
To give the drawing more context, add a simple baseball field background. This could be a diamond shape, the pitcher’s mound, and a few details like the crowd or the stands.
How to Draw a Baseball Field
Drawing a baseball field is a fun way to add a full scene to your artwork. Here’s a quick guide:
Draw the Diamond
Start by drawing the diamond shape of the baseball field. This should include the four bases and the pitcher’s mound in the center.
Add the Outfield and Infield
Draw the infield (where the bases are) and the outfield (the large area beyond the bases).
Add Details
Draw the stands, the team dugouts, and the bases. You can also add a few trees or clouds in the background to make the field look more lively.
FAQ
What materials do I need to draw a baseball?
To draw a baseball, you only need basic materials like paper, a pencil, an eraser, and colored markers or pencils for the stitching and shading. You can also use a compass or round object to make a perfect circle.
How can I make my baseball look more realistic?
To make your baseball look realistic, add detailed stitching by drawing curved lines, shade the areas of the ball that are less exposed to light, and add highlights to make it shine. This creates depth and gives your drawing a 3D effect.
How do I draw the stitching on a baseball?
To draw the stitching on a baseball, start by creating two curved lines that run around the ball. Then, add evenly spaced small “U” shapes or dashes along these lines to mimic the thread of a real baseball’s stitching.
Can kids draw a baseball easily?
Yes, kids can easily draw a baseball! Start with a simple circle and add basic curved stitching. Encourage them to add small details like dots or lines around the stitching to make it look more realistic. It’s fun and easy.
How do I add shading to my baseball drawing?
To add shading, darken areas where the ball would naturally be less exposed to light, such as the underside. Use soft pencil strokes or blend colored pencils to create a smooth transition between light and dark areas.
What’s the best way to draw a baseball player?
To draw a baseball player, begin with a simple stick figure, adding basic shapes for the body, arms, and legs. Then, sketch the details like the uniform, bat, and glove. Don’t forget to show the player’s action pose.
How can I make my baseball bat drawing look realistic?
To make a baseball bat look realistic, draw a tapered shape with a wider top and narrower bottom. Add details like a knob at the end and texture lines along the barrel to represent wood grain. Use shading to add depth to the bat.
Conclusion
By following this simple, step-by-step guide, you’ve learned how to draw a baseball, as well as some other fun baseball-related items like the bat, glove, and even a player. Whether you’re drawing for fun or practicing your skills, this guide has given you the tools you need to create awesome baseball art.
If you’re looking to improve your drawing even more, keep practicing, and don’t forget to add your own personal touches to each drawing. With time and patience, you’ll be able to create stunning, realistic drawings of baseball and other sports objects.